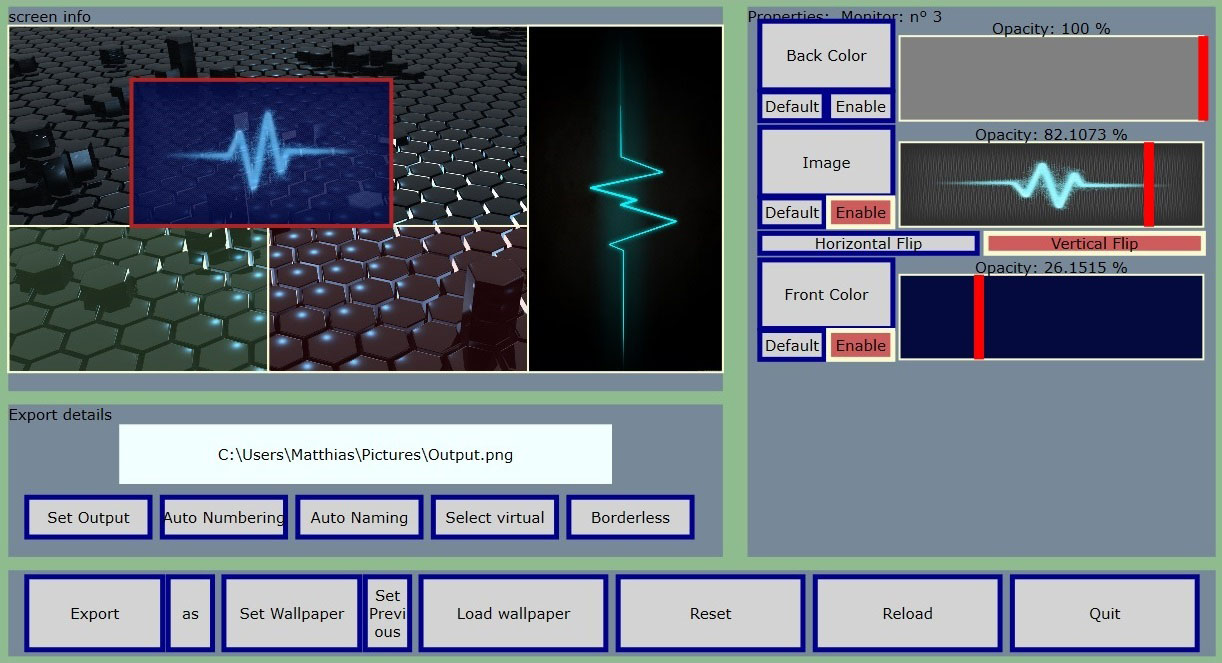
Manual
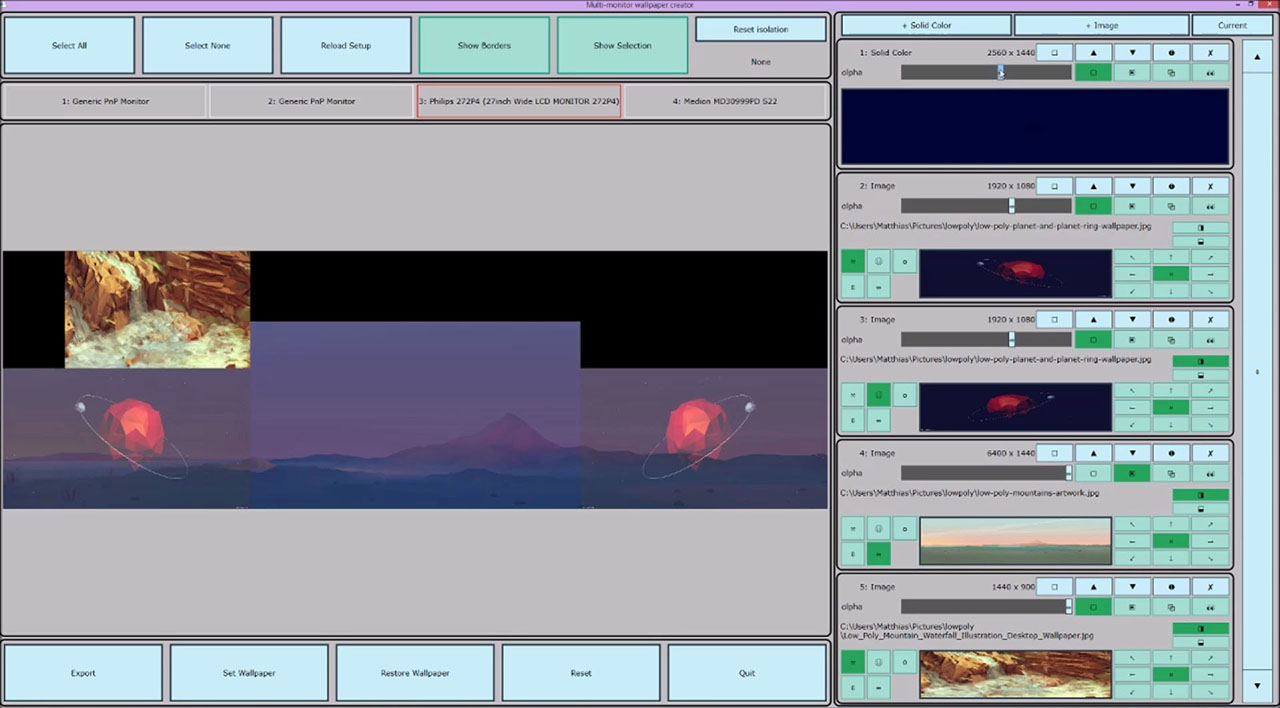
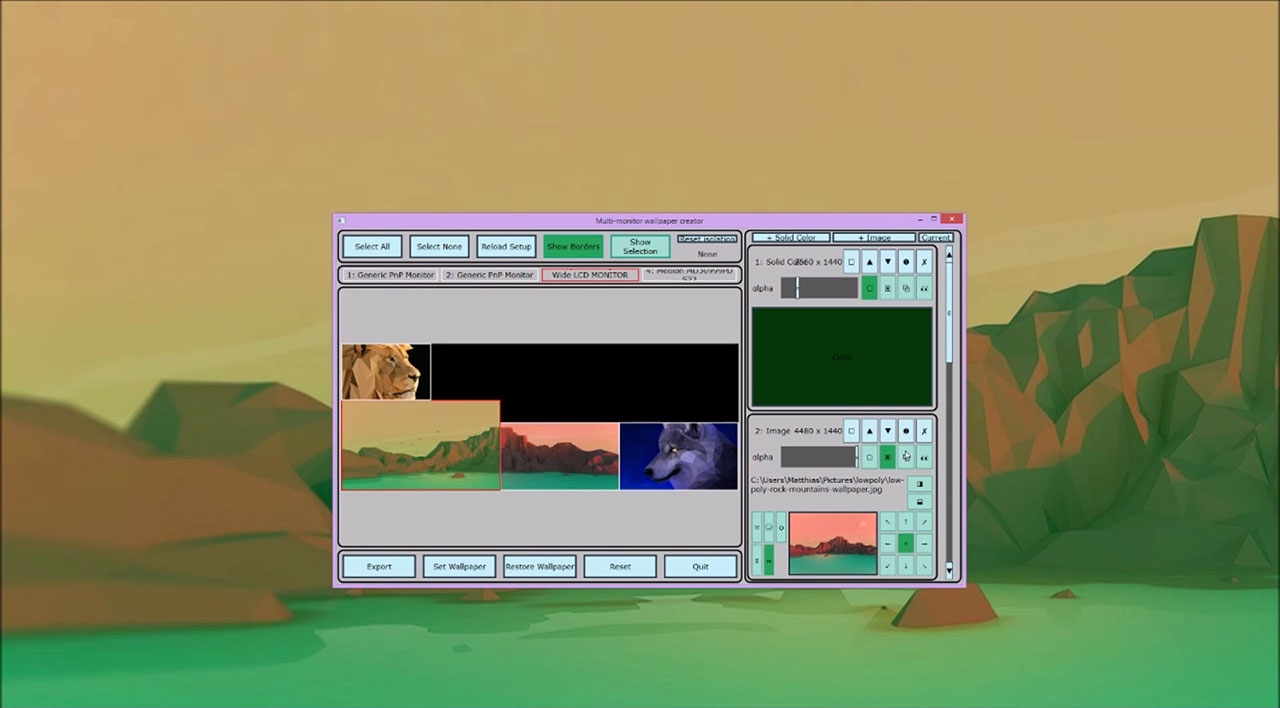
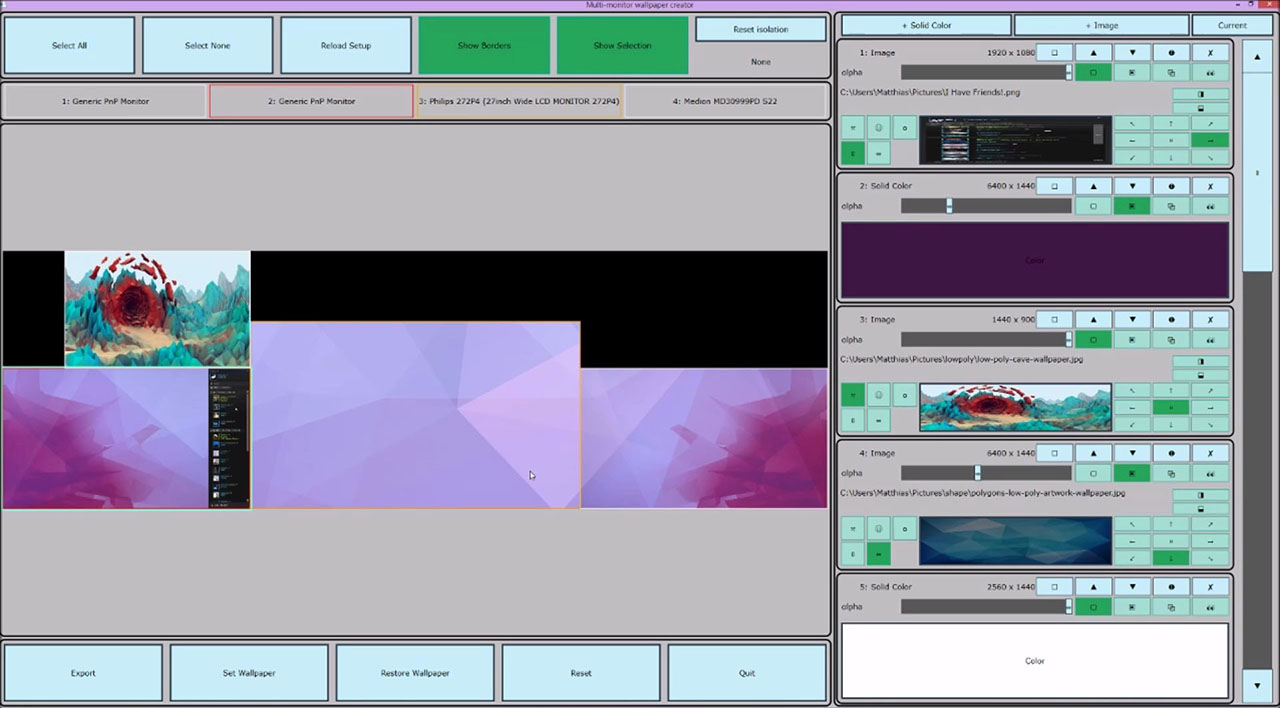
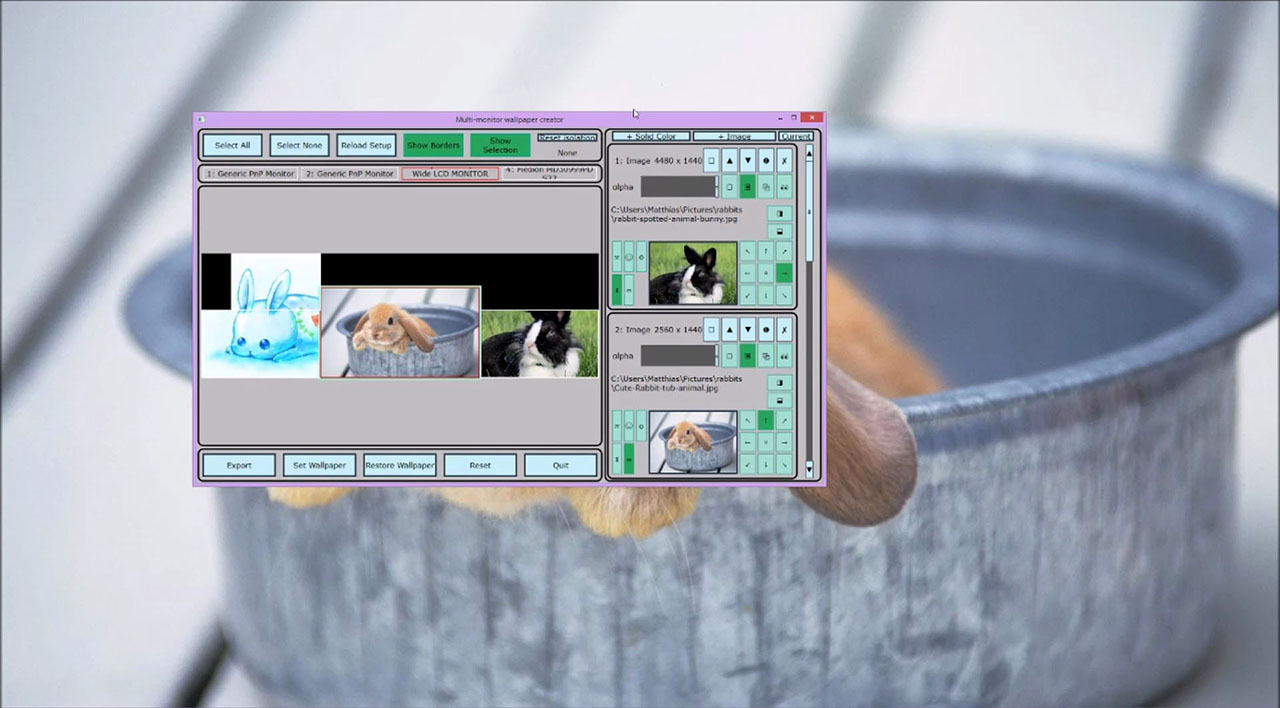
There are four areas in this program: Selection, Edit buttons, Function buttons and Layers.
Selection
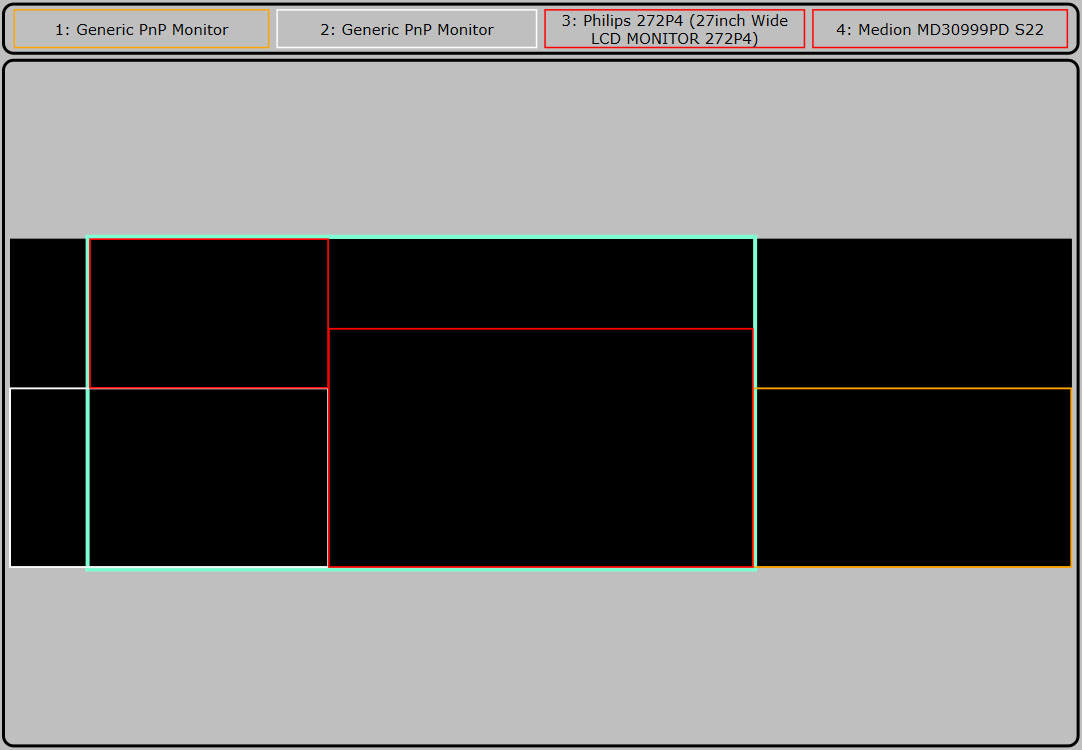
Here you select your monitors by either clicking the rectangles with your screen position or the name of your monitor.
Monitors without a specific driver will appear as 'Generic PnP Monitor' or another default name.
Interactions:
- Left click: set selection to this monitor.
- Right click or Ctrl Left click: Toggle select this monitor.
- Shift Left click: Add this monitor to selection.
Edit buttons

Select All: Select all monitors
Select None: Reset selection
Reload Setup: Reloads your monitor setup, this will unlink all your layers form their selection!
Show Borders: Toggle if borders should be draw in the selection window
Show Selection: Toggle if selection should be drawn in the selection window
Reset Isolation: resets the isolation, label shows what layer is isolated
Function buttons

Export: Export the current wallpaper as image
Set Wallpaper: Exports to default location and sets as wallpaper
Restore Wallpaper: Sets the wallpaper to the one before you started the program
Reset: Removes all layers
Quit: Exits the program
Layers
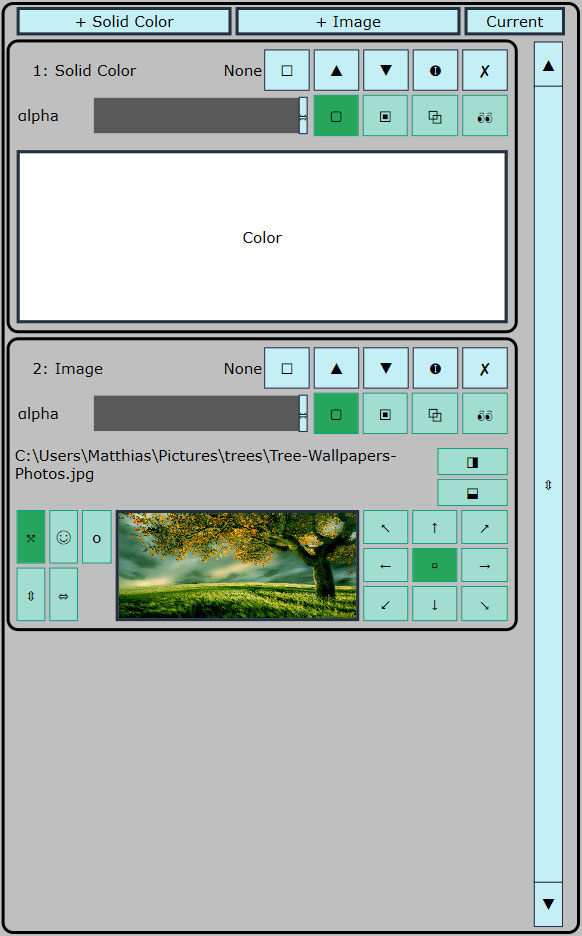
+ Solid Color: Create a new solid color layer (right click to directly set color)
+ Image: Create a new image layer (right click to directly set image)
Current: load in the current wallpaper
▢: Set selection
▲▼: Move layer up or down in hierarchy
🅘: Isolate layer, does not affect export
✘: Delete layer
alpha: opacity slider
Fill Type: ▢ fill area, ▣ fill and mask monitors, ⧉ fill each individual
👀 toggle visibility, affects export
Press color/image button to select a new color/image
◨⬓: Flip image horizontal or vertical
Left: image stretch methods
right: image alignment


